How To Fit 18th Century Shoe Buckles
Anatomy of an 18th Century Shoe Buckle
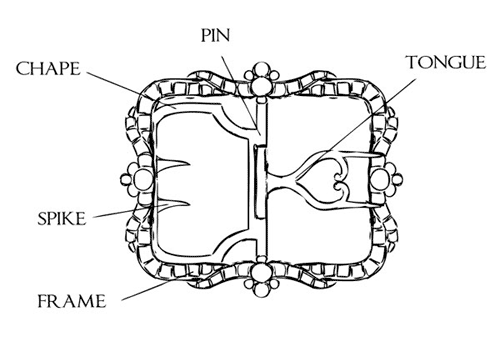
Here are the parts of an 18th century shoe buckle. You will use both the tongue and the chape to close your shoes.
- For most of the styles we offer, there are no left and right buckles. Simply flip the chape and tongue for use on the right or left shoe. However, some styles (such as our Pearl Buckle that has a bow at the bottom) do have a right buckle and a left buckle so that the bow design doesn't end up flipped upside down!
Step-By-Step Instructions - Fitting Your Reproduction Shoe Buckles
1. It is best to fit your buckles while wearing your shoes. You can do this yourself, or have a friend help you.
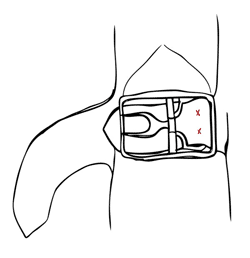
2. Slide the shorter, bottom latchet through the chape. The chape will pinch the latchet, keeping it snug. Align the buckle on the center of your foot and mark the position of the chape spikes.
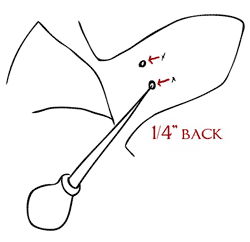
3. With an awl or leather punch, create holes 1/4" behind the marks for the chape spikes. With the chape spikes pushed through the holes, and laying flat, your buckle should still be centered on the top of your foot.
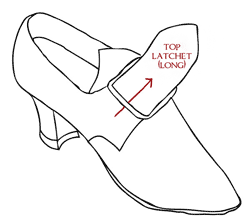
4. Feed the longer, top latchet through the buckle frame, pulling back tightly.
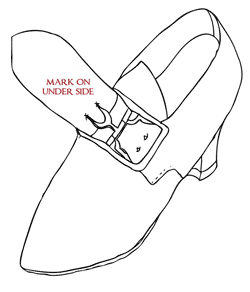
5. Mark the position of the tongue spikes on the underside of the long latchet.
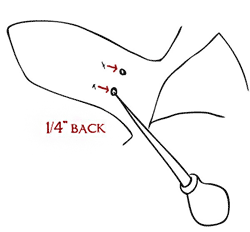
6. Again, use your awl or leather punch to create holes 1/4" back from the marked position of the tongue spikes.
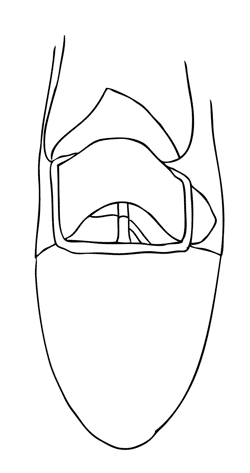
7. Secure the tongue spikes in their holes, and feed the latchet over the pin and down through the frame, to complete the closure.
There you have it!
Helpful hints:
- The chape will tightly squeeze the bottom latchet on Georgiana and Devonshire shoes, but you may find latchets on stiffer leather shoes difficult to compress. To seat the latchet into the chape securely, knotch the sides of your stiff leather latchets.
- You want a fairly snug fit the first time you fit your buckles. The latchets will conform over time and loosen slightly.
- The tongue and chape spikes on both Fleur and Dauphine buckles are the same, so you can interchange your buckles without having to pierce new holes.

